Prompt Engineering vs Loop Engineering vs Graph Engineering: What Changes at Each Layer
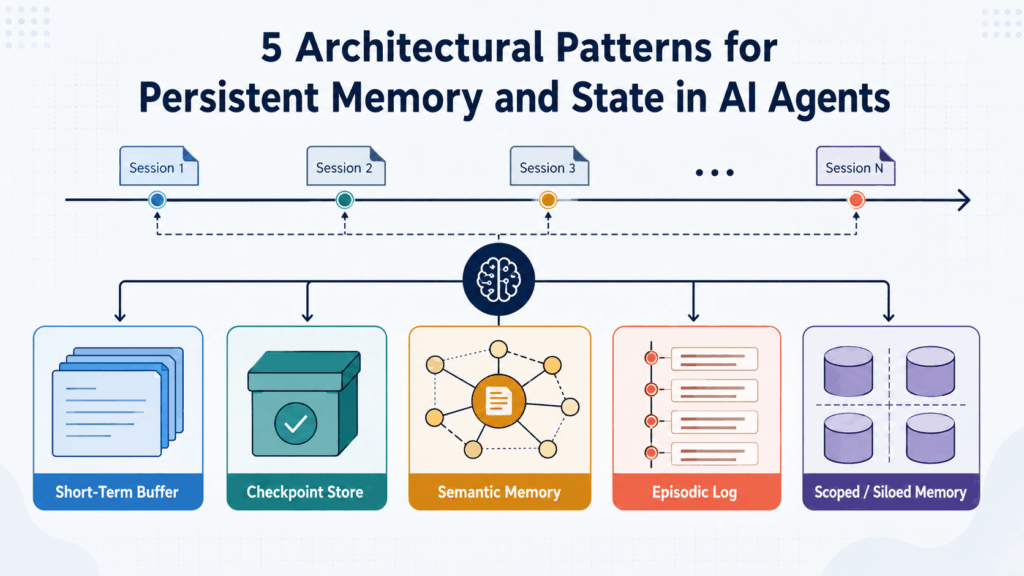
Three terms now compete for the same line in AI engineering job descriptions. Prompt engineering is the established one. Loop engineering entered the AI vocabulary in late 2025 and dominated developer discussion through June 2026. Graph engineering followed roughly six weeks later. They get used interchangeably. Should they be? The three are not competing techniques. They are three different units of control, stacked. A prompt controls one model response. A loop controls one agent’s behavior cycle. A graph controls the organization of many agents. Each layer preserves the layer beneath it. A prompt does not disappear once a loop is built around it. it stops being the thing typed by hand. This article separates the three: what gets designed at each layer, what the published claim says about when the higher layers pay for themselves, and where the skepticism is warranted. One task, three layers Interactive explainer · 01 One task, three layers — watch what changes The three terms are not competing techniques. They are three different units of control. Here is the same job handled at each layer, step by step. Orange dots mark the moments a human is required. Task Fix the failing tests in the auth module, then open a pull request. Run all three Reset Layer 1 Prompt engineering You control one model response. You are the loop. Your turns 0 · Model calls 0 Layer 2 Loop engineering You control one agent’s cycle. The loop does the prompting. Your turns 0 · Model calls 0 Layer 3 Graph engineering You control how many agents are organised. Your turns 0 · Nodes 0 · Parallel 0 What actually differs Prompt Loop Graph Unit of control One model response One agent’s behaviour cycle An organisation of agents What you write Instructions, examples, output format Trigger, tools, stop condition, retry budget Nodes, edges, shared state, failure routes Who says “again?” A human, every turn A verifier the loop calls itself A routing rule written in advance Where it breaks Ambiguous or overstuffed instruction It cannot tell done from stuck Context never crossed an edge you forgot to draw Enough when One shot, a person reads the result Repetitive, machine-checkable, one domain Cross-domain work with parallel branches Illustrative walkthrough · step counts are not benchmarks Built by Marktechpost The stack, in order Each step in the progression was named in practice before it appeared in vendor documentation. Prompt engineering covers writing and structuring the instruction for a single call. Anthropic’s guidance is to separate a system prompt into labeled sections — background information, instructions, tool guidance, output description — delineated with XML tags or Markdown headers. The recommendation is to supply the minimal set of information that fully specifies the expected behavior. Minimal does not mean short. Context engineering came next. Anthropic describes it as the natural progression of prompt engineering. The question moves from finding the right words to deciding what configuration of tokens belongs in the window at all. Context is a finite resource, and the engineering problem is optimizing the utility of those tokens against model constraints. Harness engineering covers the environment a single agent runs inside: files, tools, memory, feedback. Loop engineering sits one floor above the harness. A June 2026 arXiv paper on agentic AI in building engineering, Buildrix, sets out the same four-step progression explicitly — prompt, then context, then harness, then loop — with the final layer defining how a system repeatedly observes, acts, verifies and recovers. Graph engineering is the newest label and the least settled. One enterprise writeup notes that the term’s provenance is unresolved and that it collides with an older knowledge-graph usage of the same word. The underlying practice, graph-based orchestration, has a documented lineage in multi-agent systems research. Layer 1: Prompt Engineering The defining assumption is that a human is present at every iteration. A prompt is written, the model responds, the output is judged, the prompt is revised. That assumption is what breaks. High volume. Multi-step tasks. No human available to grade the output. Results that feed the next step automatically. Any one of these, and the prompt alone stops being sufficient. Nothing about the prompt got worse. The surrounding conditions changed. Prompt engineering also does not vanish inside the higher layers. Anthropic’s multi-agent research writeup reports that prompt engineering was the primary lever for fixing coordination failures. Early versions spawned 50 subagents for simple queries, and the fix was prompting rather than topology. Prompt engineering, explained Interactive explainer · 02 · Layer 1 What prompt engineering is Prompt engineering is designing the text of a single call to a model. One input, one forward pass, one output — and a human who reads the result and decides whether to run it again. That last part is the assumption everything above this layer exists to remove. Prompt what you write Model one forward pass Response one output you you judge it, then rewrite the prompt yourself Swipe the diagram sideways → The cycle exists here too — but you are the one closing it, every single turn. Anatomy of a prompt Tap a section. Anthropic’s guidance is to delineate parts with XML tags or Markdown headers rather than writing one undifferentiated block. <background_information>What the model needs to know before it starts <instructions>The task itself, and the rules for doing it ## Tool guidanceWhich tool to reach for, and when ## Output descriptionThe exact shape the answer should take <examples>A few cases that cover the edges you actually hit What this section does Background information The assumption that breaks Prompt engineering assumes a human is present at every iteration. Tap a condition to see what happens when that stops being true. high volume multi-step task nobody available to grade it output feeds the next step Layer 1 of 3 · the layer most tasks stop at Built by Marktechpost Layer 2: loop engineering The framing is that a coding agent is a brute-force tool for finding solutions. The craft is designing the goal, the
Prompt Engineering vs Loop Engineering vs Graph Engineering: What Changes at Each Layer Read Post »